开启 IIS + WebDAV 设置
Internet Information Services
------> Web Management Tools
--------->> IIS Management Console
------> World Wide Web Services
--------->> Application Development Features
------------>>> ASP / ASP.NET ( 这个看个人需求 )
--------->> Common HTTP Features
------------>>> Default Document
------------>>> Directory Browsing
------------>>> Static Content
------------>>> WebDAV Publishing
--------->> Security
------------>>> Basic Authentication
------------>>> Request Filtering
2. Control Panel - Administrative Tools - Internet Information Service (IIS) Manager
添加虚拟目录
Default Web Site - 按右鍵 Add Virtual Directory
Alias: webdav
Physical path: C:\WebDAV
去 Control Panel - User Accounts - Manage another account - Create a new account (记得设置密码)
可以参考
http://jasonmun.blogspot.my/2016/03/windows-7-2dropbox.html
认证设置
- Default Web Site Home - IIS - Authentication
- Basic Authentication
* Enabled
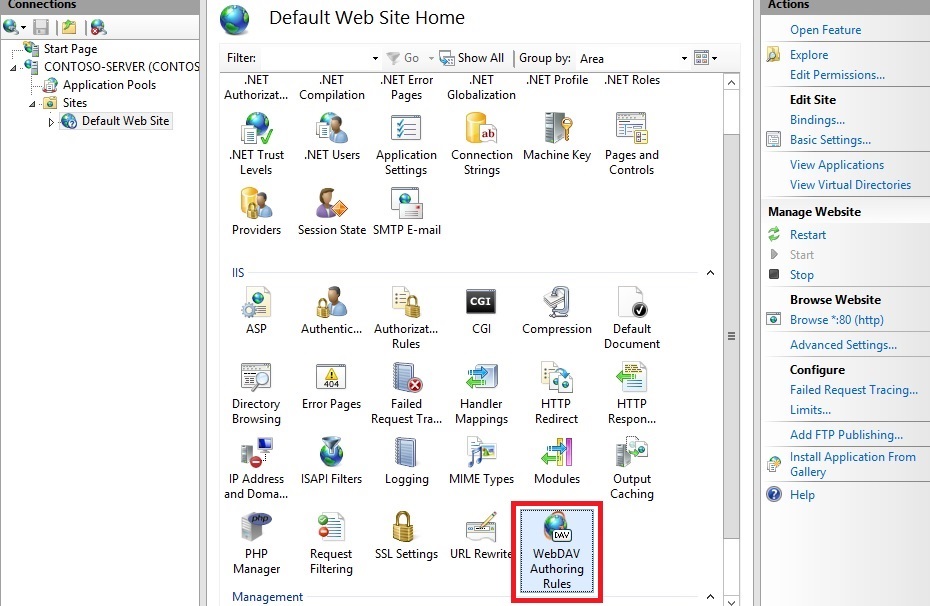
Default Web Site Home - IIS - WebDAV Authentication
- Enable WebDAV
- Add Authoring Rule...
* Allow access to: All content
* Allow access to this content to: Specified users: user1
* Permissions: Read / Source / Write
5. 使用 WebDAV 客户端连接以上服务
WinSCP
https://winscp.net/eng/download.php
BitKinex
http://www.bitkinex.com/
http://127.0.0.1/webdav
户口用 user1 和密码用以上设置的密码

没有评论:
发表评论